A copy of an old Russin ring.
|
This is my first work of gold during the course in gold casting that the
Västerbottens amatörgeologer
held. The couse is held twice a year and consists of 4-6 evenings when we get to
learn how to work with wax, creating a silicone rubber mold of an object to copy,
casting wax in a rubber mold, embed a model, cast gold and finishing the work by
sanding and polishing.
With only a few days left before the course started, I begun to search for something
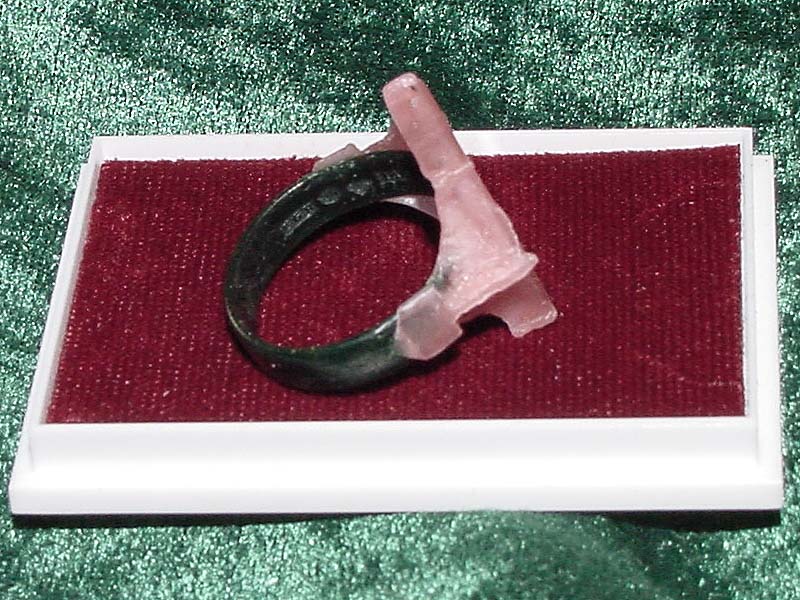
to do. I asked my friend Roger to find a suitable medieval ring to do a replica of.
He suggested that I would do a copy of a Russian
ring from the thirteen century (closeup). |

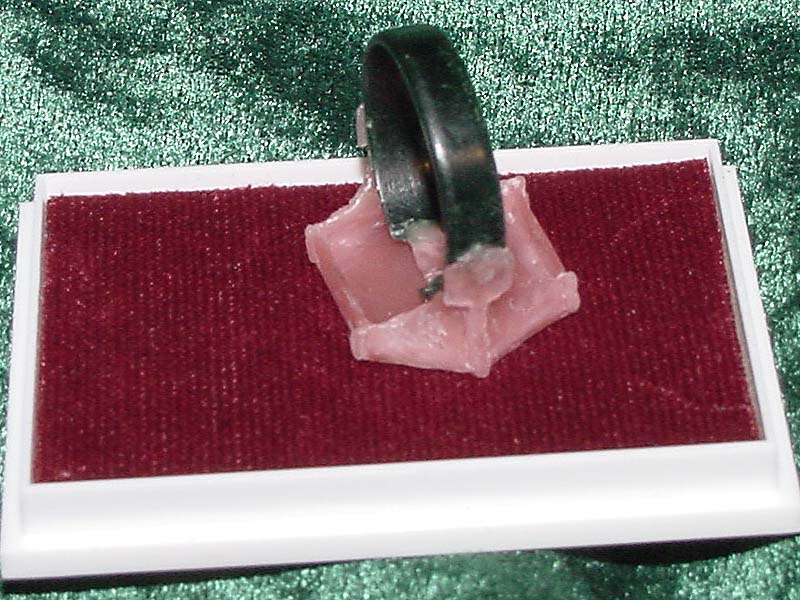
| The first wax model, the ring and the flat top is there but before the side pieces are put in place. |
| More views of the same model. |

| More views of the same model. |
| More views of the same model. |
| More views of the same model. |

| A view of the first model in it's finished stage. Compare with the next picture to see what the finisher ring looks like. |
|
| And here is the finished results. The ring should have engravings on it, but I first have to learn the technique. |
| Another view of the model ... |
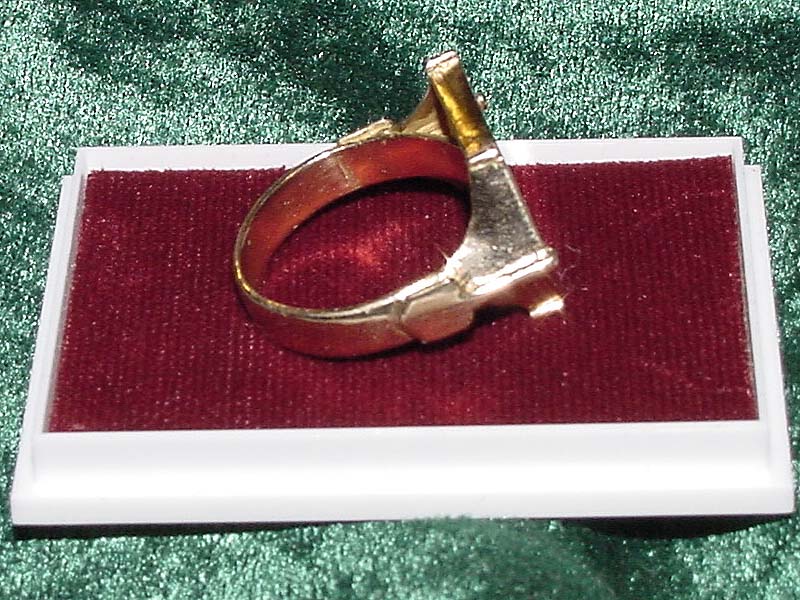
| ... and the gold ring. |

|
Another view of the model ... In the second model I decided that the ring should go all around, so I made the ring part out of two molded wax rings instead of one ring and a distance as in this picture. |
| ... and the gold ring. In both this picture and the next you could see the air bubble left after the embedding. The bubble was filled with gold during the casting and it nearly ruined the ring. There was a pit in the back side of the ring but we filled it up with a piece of gold soldered in place. |
| Another view of the model ... |

| ... and the gold ring. Here the bubble is visible to the left. |
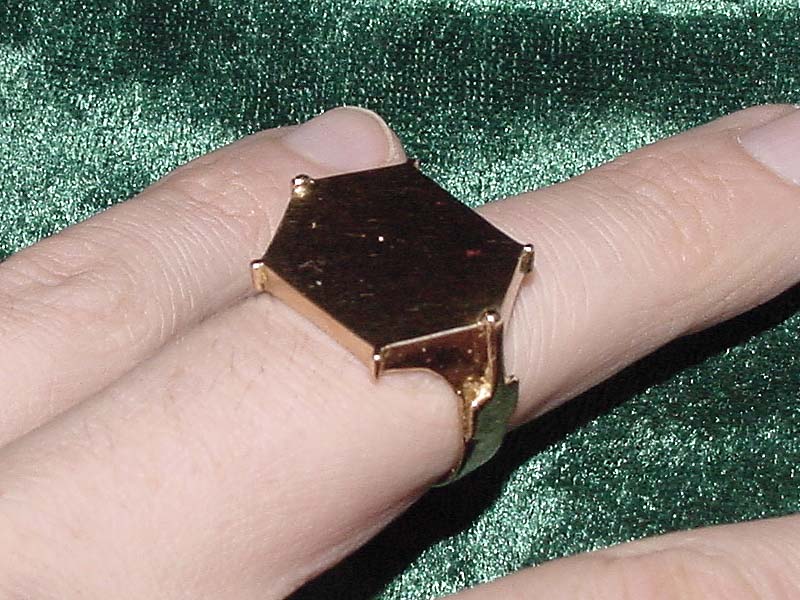
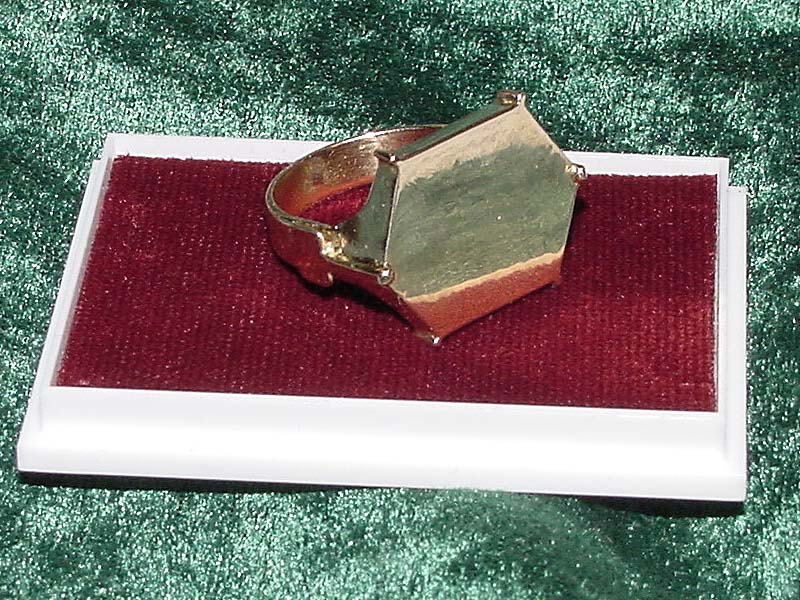
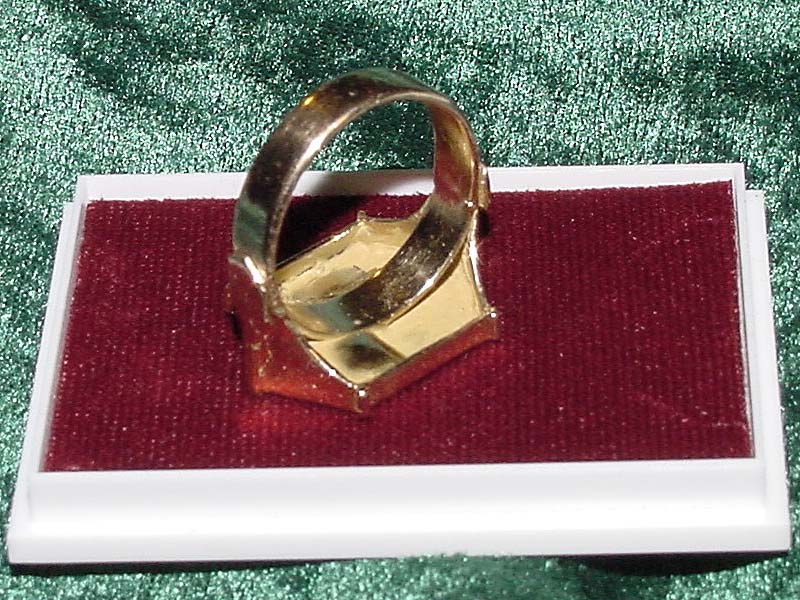
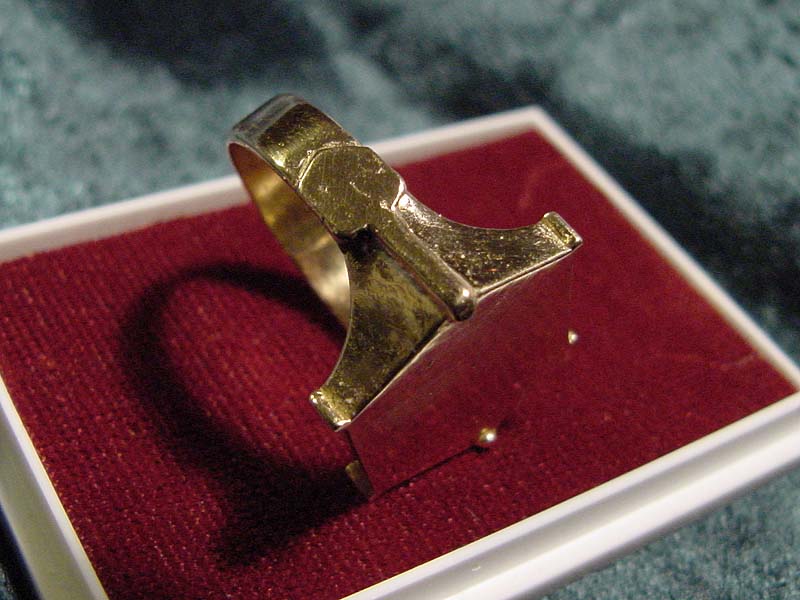
| The finished ring from various angles. |
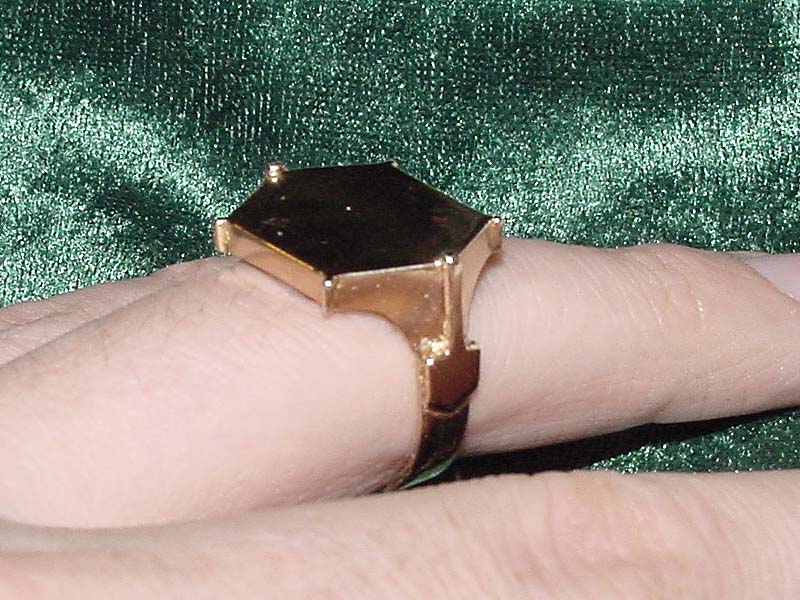
| The finished ring from various angles. |
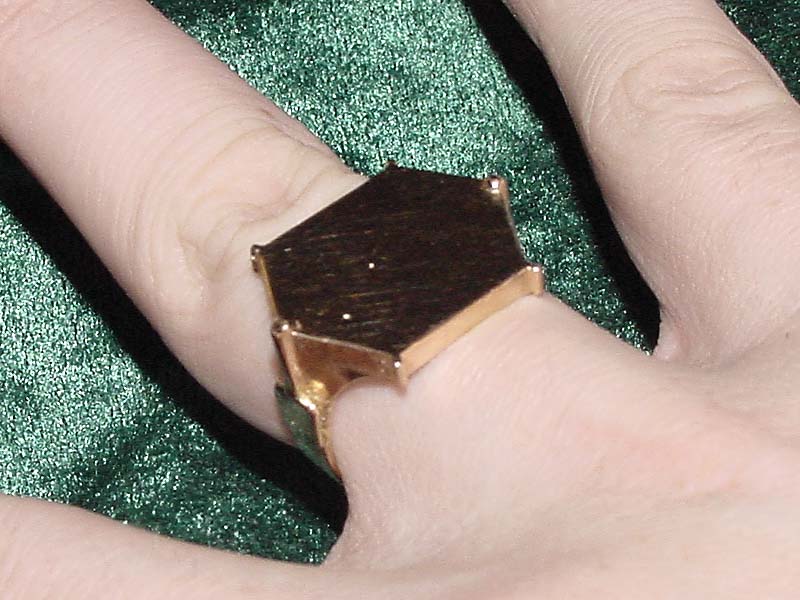
| The finished ring from various angles. |
| The finished ring from various angles. |
|
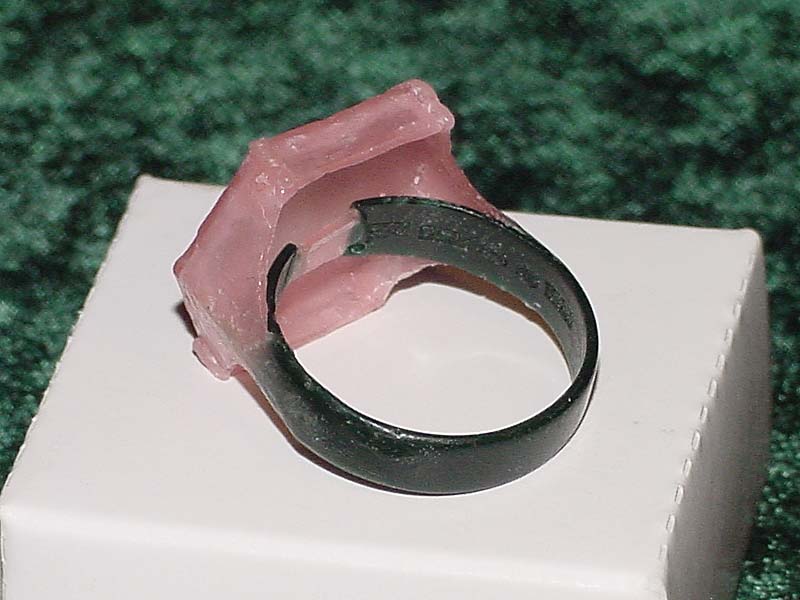
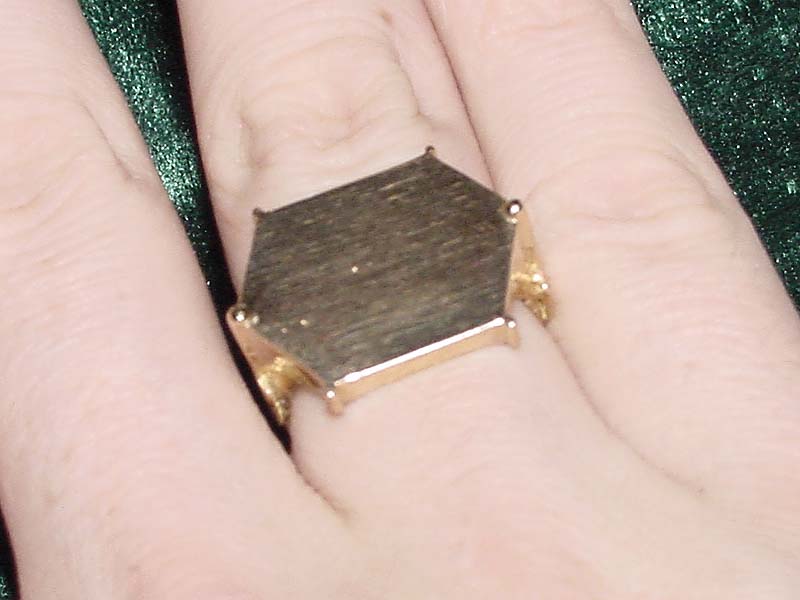
Detailed view of the side piece. It probably was a part of the design to hold
the ring together while soldering. This one was cast in one piece but afterwards
we realised that it probably had been better to do it in two pieces. |
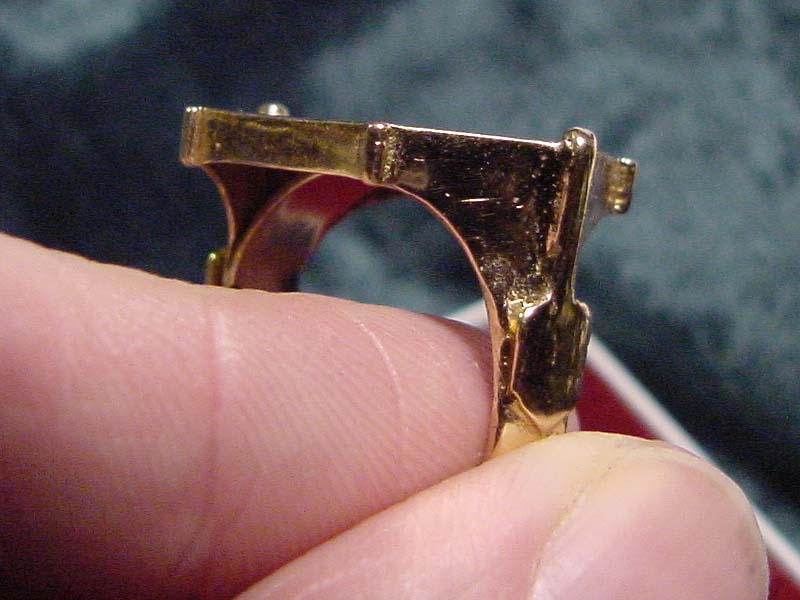
| Another view of the side piece, otice that it goes up over the edge of the flat top. |

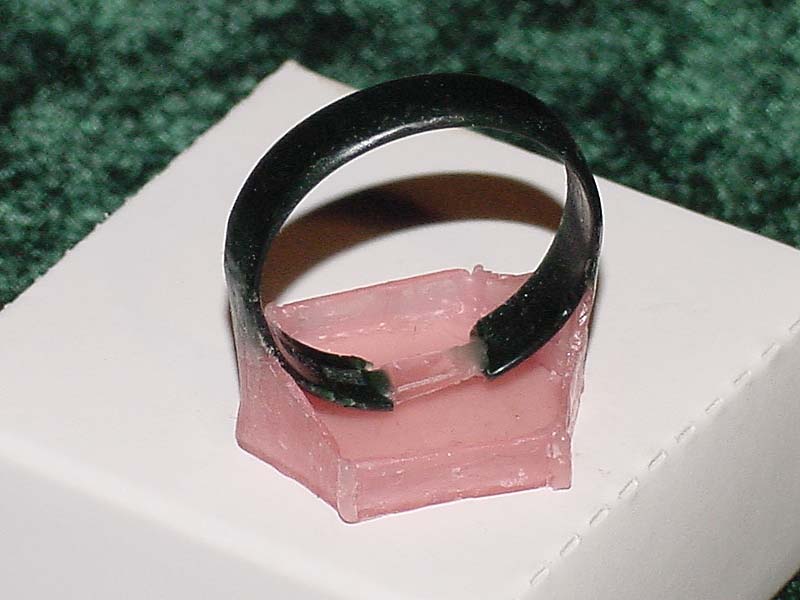
| More details. The surface isn't as bad as the picture shows, it's just problems with the reflection of light. |

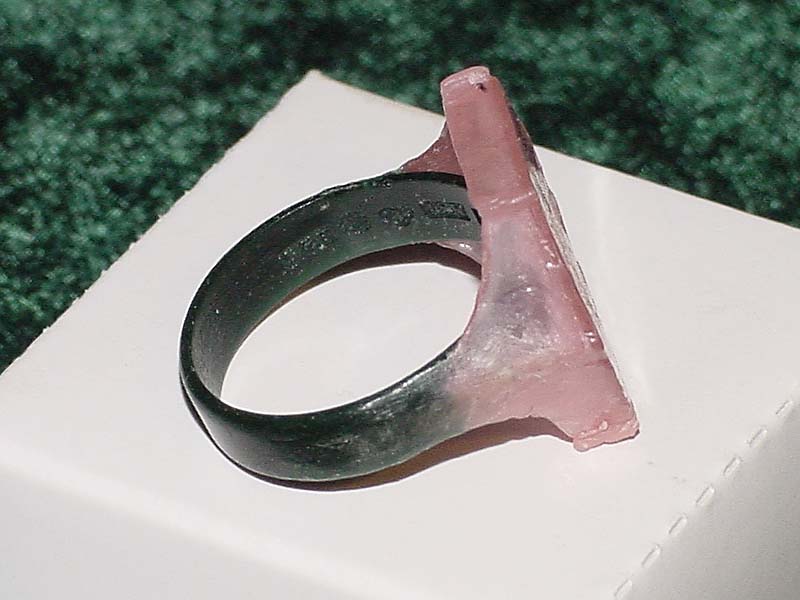
| Here we could see the support between the ring and the flat top. I put it there to ease the flow of gold and to give the top some support. |
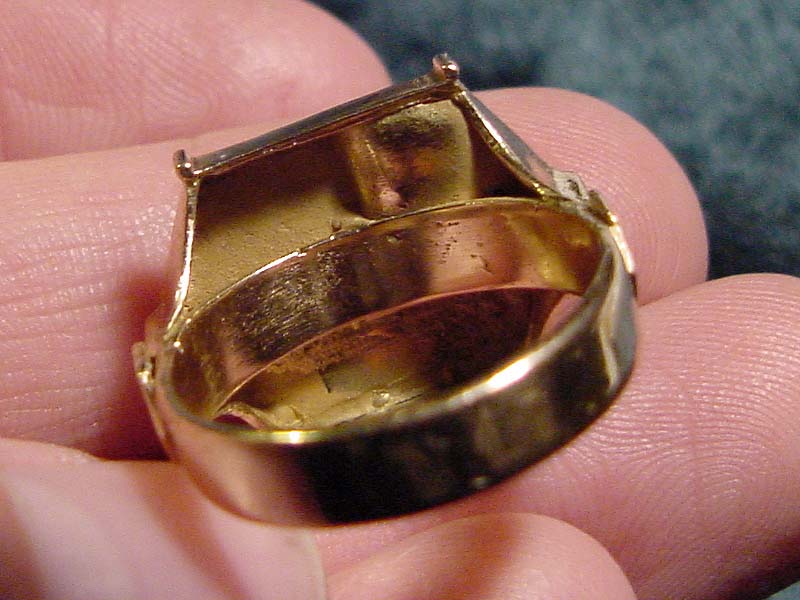
| In each corner there is a round pin. I realise that they should be larger, but that's too late now... |
|
axelsson@acc.umu.se "http://www.neab.net/" © 2002 Göran Axelsson |
Last changed : 2002-12-02